Overview#
This guide is written to help full-stack engineers (who may not have the time to implement servers or proxies for fun) understand the magic of computer networks. Each section tries to show you what is happening without explaining the phenomena.
You are highly encouraged to follow along the steps in each exercise. If you need help with some of the command-line flags, use https://explainshell.com/.
Exercise 1: A Tail of Two Cats#
For this exercise, you will need to install netcat. Use one of these:
$ brew install netcat  # macOS
$ apt install netcat  # ubuntu
Once installed, split your terminal vertically into two, then run
# right side
$ nc --listen -p 3132
# left side
$ nc -v 127.0.0.1 3132
hello!
The text hello! should appear in the output on the right side.

Fig. 1: What did one cat say to another?
Questions#
- How did the text from the left appear in the output on the right?
- What does
3132represent? - What happens when you terminated the process on the right using
Ctrl+C? - What happens when you ran the commands on the left before the ones on the right?
Exercise 2: Cat HTTP#
For this exercise, you will need to start a http server using python3. Chances are, it is already installed on your computer, so I won’t provide detailed instructions here.
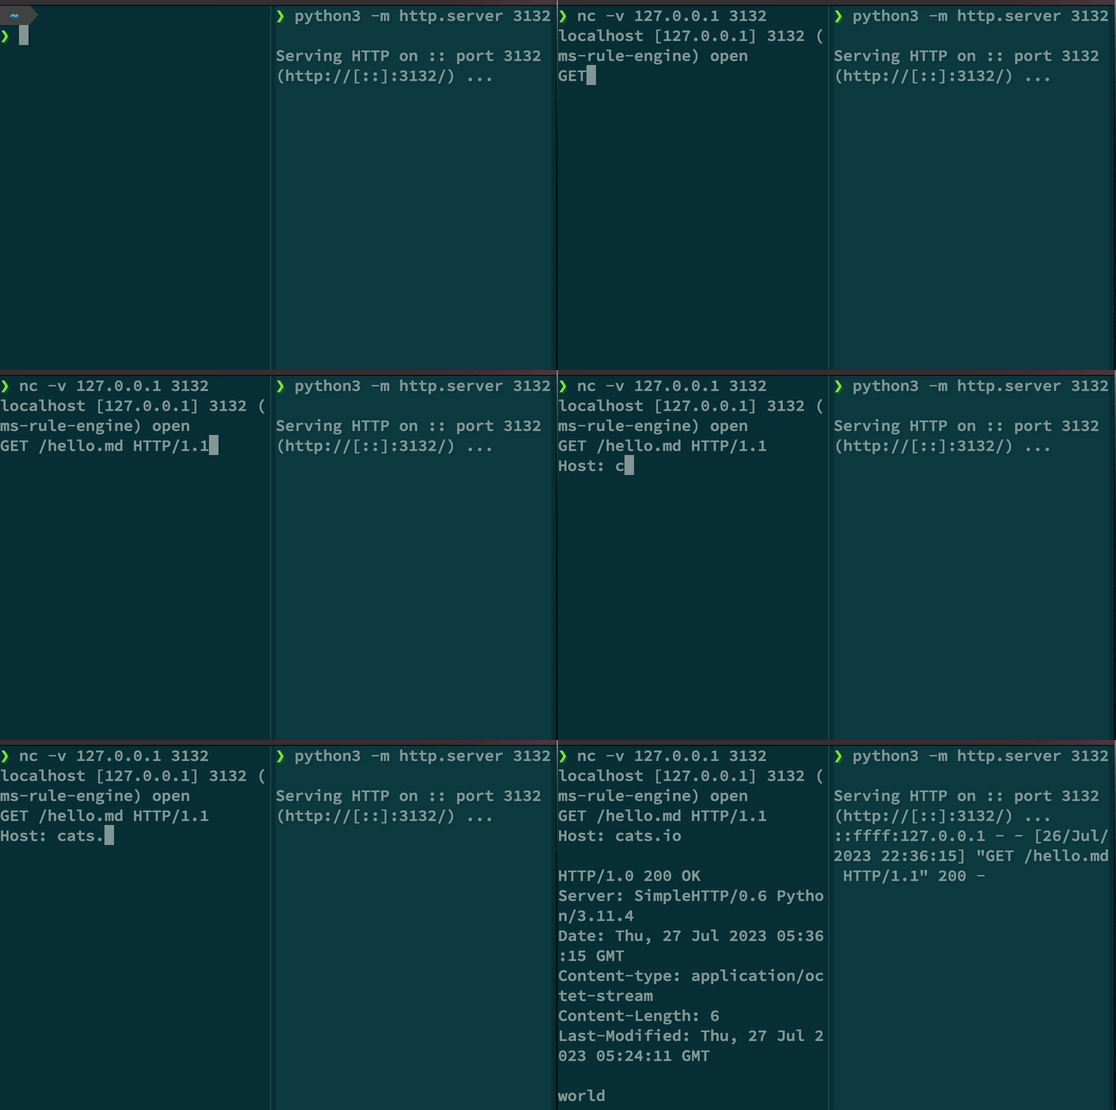
We are going to use netcat from the previous exercise to hand-type a HTTP request.
# right side
$ python3 -m http.server 3132
# left side
$ nc -v 127.0.0.1 3132  # it's very important to hand-type the rest below into netcat
GET / HTTP/1.1
Host: my.website.io
Accept: text/html
The last two newlines are necessary.

Fig. 2: Type it slowly.
Questions#
- As you hand-typed the request, when did it feel like the server acked and sent back a response?
- Try different values after
Host:. Which ones work? Doesgoogle.comwork?
Notice that we skipped the usual DNS lookup, connected directly to an IP address (127.0.0.1),
and then, inside the HTTP request, we specified which Host we wanted.
Next, try pointing netcat at a HTTP website and see if you can hand-type a request. You will have to type very fast.
Exercise 3: Encrypted Cats#
For this exercise, we are going to use openssl, which is like netcat but encrypted.
$ brew install openssl  # macOS
$ apt install openssl  # ubuntu
We make our hand-typed HTTP requests more realistic by including a DNS resolution step.
$ nslookup jimjh.com # copy the IP address from the last line of the outputI am going to use 54.84.236.175 as my example, but you should use the actual IP you
found from the previous step. Next, we practice setting up an encrypted TCP connection,
like so,
$ openssl s_client -connect 54.84.236.175:443
GET / HTTP/1.1
Host: jimjh.com
If you can’t type fast enough, copy-paste for this one.
Questions#
- What happens when you couldn’t type fast enough? What kind of timeout was that?
- What does the initial output from
openssl s_clientmean? - What happens when you supply a made-up value in
Host:?
Exercise 4: Keepalive#
Creating an encrypted connection can take a while. Let’s practice reuse.
$ openssl s_client -connect 54.84.236.175:443
GET / HTTP/1.1
Host: jimjh.com
Notice that the prompt hasn’t terminated! Copy-paste in the 2 lines in our HTTP request again.

Fig. 4: Send multiple.
Questions#
- What happens if we waited too long after the first request?